Some months ago I was tasked to develop a proof of concept Angular application but using a Module Federation approach. I have to admit that I’m not much of a front end developer myself, and I tend to code back end applications (as the blog suggests) but I like a challenge, and an opportunity to learn something new. The idea of Module Federation is to have applications built, deployed and run individually, but thanks to a “host”, so to speak, we can have an application run within another. I believe that Module Federation isn’t limited to Angular only but it can be applied to React and VueJS. If you’re coming from a back end background, think of like a standard .NET application where you’ll have the main application, or API, and then you’ll have multiples DLLs that support the solution but said DLLs can also be used in other solutions, with the only difference that in Module Federation these separate DLLs can also run on their own as independent applications.
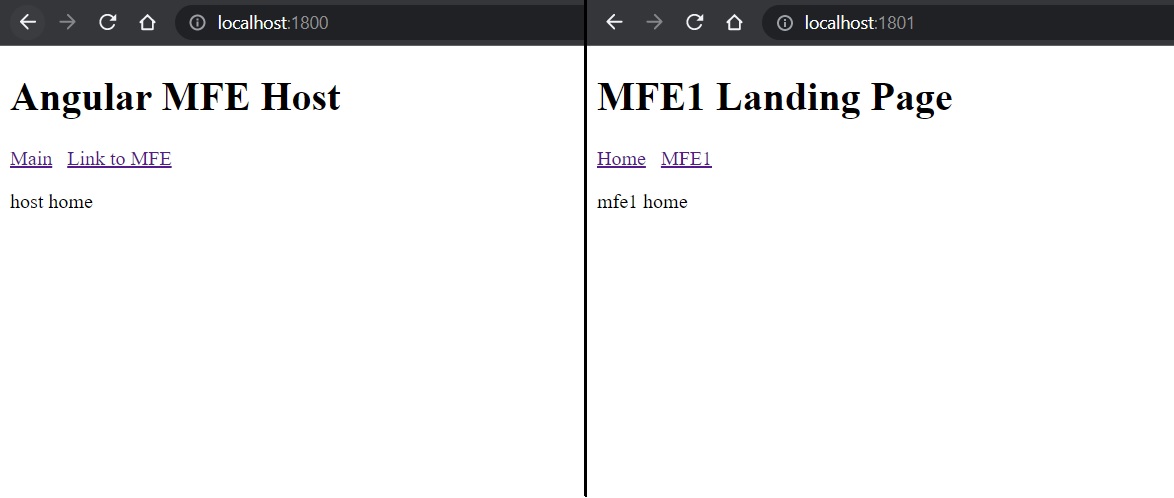
Anyway, I was new to this so naturally I resorted to a tutorial online and whilst there are numerous examples out there I decided to stick with this one. This tutorial will be the starting point for this blog post. After completing the tutorial, you should have an Angular application with host and mfe1, as micro front ends, and when you run the application using your ng serve commands you should have something like the following.

In Module Federation applications should be de-coupled and should not share dependencies between them, especially npm packages, but I found that certain assets, such as images or CSS files, can and wouldn’t hurt to have them shared between different micro front ends. My interpretation of this new framework might be complety wrong and if that’s the case then my bad.
Images
The first asset I wanted to have in common between projects was an image. To achieve this, I created a new common folder inside the projects folder that lies within the root. Inside the common folder I added a new assets folder and inside that one an images folder. I then headed to cleanpng.com and got myself a random logo.
First code change is happening in angular.json. In here, for each project (in our case two; host and mfe1), you should have build, running, serve configurations, among other things. We need to make an update to the assets JSON node in each project. The default should reference the favicon and the assets folder found inside the src folder of each project. We need to add a reference to the assets folder (inside common project) we just created, and give it an alias to be used in our HTML files. This needs to be done for both host and mfe1.
| … | |
| "tsConfig": "projects/host/tsconfig.app.json", | |
| "assets": [ | |
| "projects/host/src/favicon.ico", | |
| "projects/host/src/assets", | |
| { | |
| "glob": "**/*", | |
| "input": "projects/common/assets/", | |
| "output": "./assets/" | |
| } | |
| ], | |
| "styles": [ | |
| "projects/host/src/styles.css" | |
| ], | |
| … |
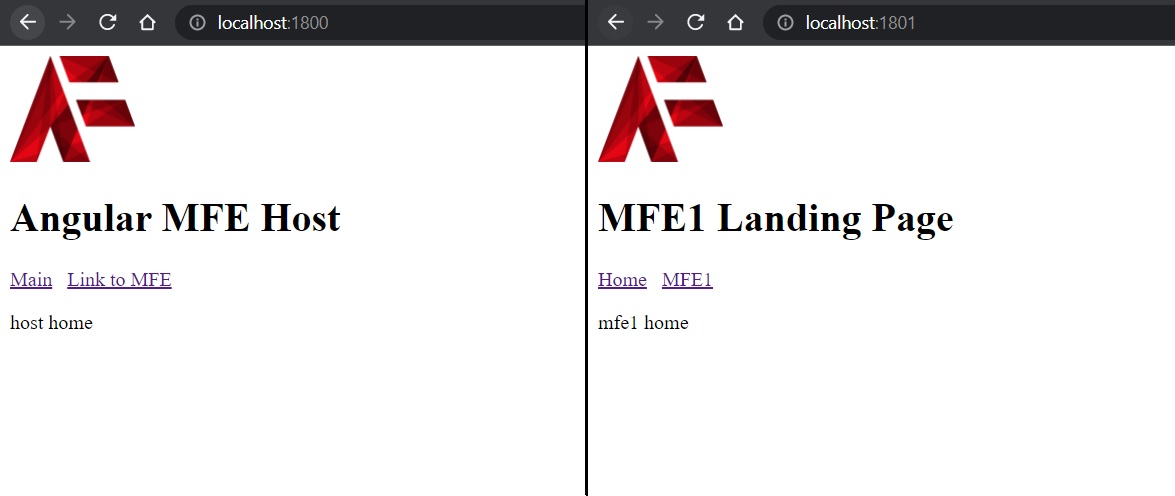
I then updated each of the project’s app.component.html, which is like each project’s entry point. I added an image HTML tag and referenced the directory we just declared in the angular.json file.
| <img alt="Logo" width="100px" height="85px" src="../assets/images/logo.png" /> | |
| <h1>Angular MFE Host</h1> | |
| <a routerLink='/'>Main</a>   | |
| <a routerLink='/mfe1'>Link to MFE</a> | |
| <router-outlet></router-outlet> |
That should produce the following results.

CSS
The second asset I wanted to have shared between the project was CSS. From the research I did some weeks ago I found that there are various ways to achieve this, definitely easier than the images, but the following was what I found suited best for me. I added my CSS styling in styles.css in the host‘s src folder. I then went back to the angular.json file and for each non-host project (in our case just mfe1) I added, just under where we just did our updates, a reference to the style.css file found in the host project.
| … | |
| "tsConfig": "projects/mfe1/tsconfig.app.json", | |
| "assets": [ | |
| "projects/mfe1/src/favicon.ico", | |
| "projects/mfe1/src/assets", | |
| { | |
| "glob": "**/*", | |
| "input": "projects/common/assets/", | |
| "output": "./assets/" | |
| } | |
| ], | |
| "styles": [ | |
| "projects/mfe1/src/styles.css", | |
| "projects/host/src/styles.css" | |
| ], | |
| … |
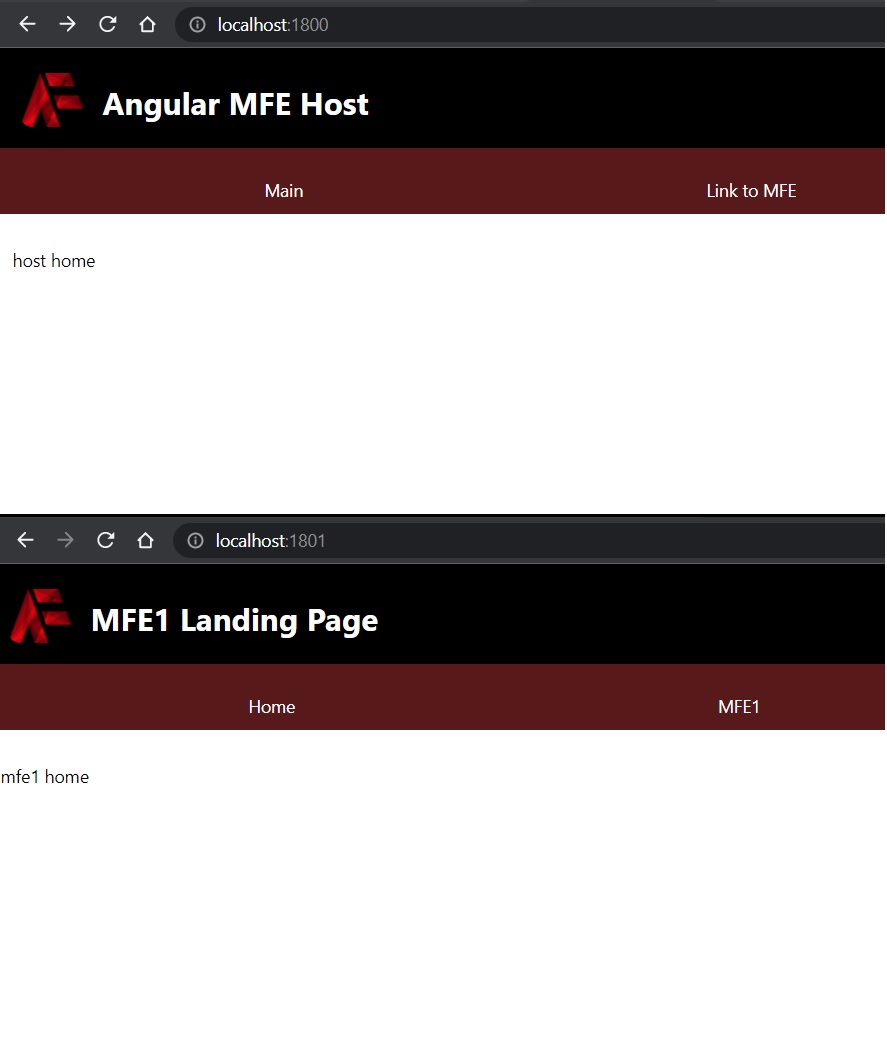
As you can see there’s also a reference to the assets change we did earlier. I then updated further the app.component.html files of each project, and added new HTML tags that reference the new CSS classes. Some basic styling, nothing out of this world. That left me with the following looking micro front ends.

Now I know that my implementation is incorrect for Module Federation, in the sense that the host and other “children” micro front ends would not share the same styling because the “children” micro front ends would be contained within the host. For that reason it wouldn’t make sense to have a nav bar within a nav bar as is in this case, but for the sake of a POC we’ll let this one slide. Besides, it can still be the case that a CSS class is used in multiple micro front ends, so in that instance all we need to do is reference the stylesheet from within angular.json.
I took the liberty of uploading the codebase to a public repository on my GitHub account. That brings us to an end of another blog post. Thanks for reading.
Until next one,
Bjorn✌️